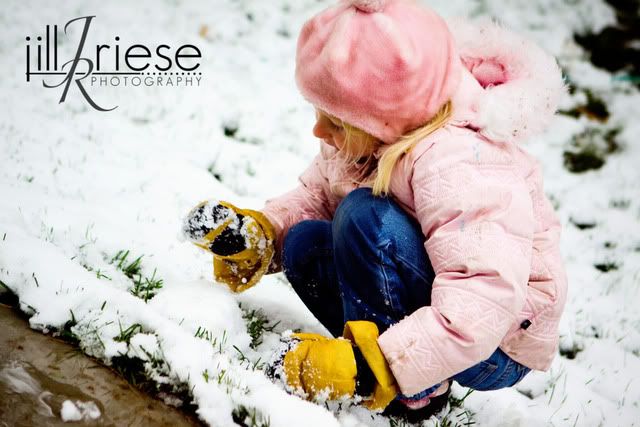
Repeat as necessary, stacking each ball one on top of another, until you reach the desired height of your snowman.

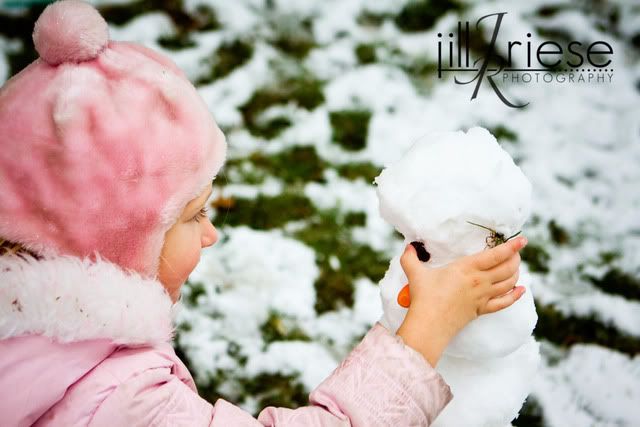
Find items to use for eyes and nose. Originally, Mack chose a baby carrot for the nose and raisins for the eyes. Apply each by gently pushing them on to the face of the snowman. Note, you may need to temporarily remove gloves or mittans.

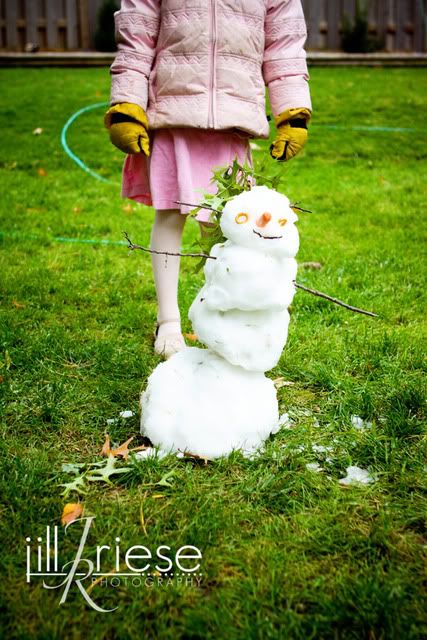
At this point, the snowman was done. However, Sunday rolled around and the snow began to melt some, as you can observe by the green grass. However, Mackie's snowman still stood. Unfortunately, his head fell off (with the assistance of the older sister) and a dog ate the eyes. This greatly displeased Mackie and so it was time to re-do the snowman. Again, the baby carrot was used for the nose. This time round pretzels were used for the eyes. Twigs and sticks were used for the ears, mouth and arms. And, as a bonus, a branch with leaves was used for the 'fro! Here is snowman in his last leg of life...

Thank you for joining us. Mackie is ready for the next snow. Me, not so much = ) It can come in November or December and that would be perfectly fine with me!

3 comments:
Cute post!! I love the shot of the snowman in the grass. It totally reminds me of the Midwest! :)
I love the pictures and commentary! Tell Mackie she can come over and help me build snowmen any time she wants! I love playing in the snow.
eileen
The snow looks so pretty........pretty awesome snowman too!! Way too cute!!
Post a Comment